The smart-phone and photography market is providing with a wide assortment of underwater casing options at the moment. Many photographers have been taken with the idea of exploring the underwater world and bringing to life sea wildlife and flora through their imagery. The world under the surface is fascinating and definitely worth exploring.
Everything from affordable soft casing on DSLRs, or waterproof casings for smart-phones will help you create incredible underwater images. However, photos don’t always come out perfectly. There are a few post-processing tricks that you must learn in order to improve the quality of your underwater images. Let’s take a look at the easiest, most effective post-processing underwater photos tricks.

Post-Process Photo Workflow
The goal would be to spend as much time underwater, and less of it in front of the computer. But even if you manage to snap incredible underwater photos, you still have to edit them a bit in order to make them look spectacular (when contrast/color is not enough, if you have backscatter, or if you need to crop or get rid of unwanted elements). For this you will require a well-put-together post-process photo workflow. It should look something like this:
- Once you are done with the photo-shoot copy and backup your files on the computer
- Take a look at your images, add tags, keywords and rate them (1-5 stars) to sort faster. You can do this with the help of Adobe Bridge or Adobe Lightroom.
- Process your RAW or JPEG file with the help of CS4 or camera raw. When shooting in RAW, you will need an editor such as Adobe Camera Raw, or Nikon capture.
- Edit your photos according to the following tricks.
Editing Underwater Photos with Adobe Photoshop
Don’t forget about editing the raw file before proceeding to this step. The resulting image should be a 16-bit file that you drag into Photoshop. At this point, some basic editing tricks will be used, according to your taste: adjusting levels (red/blue/green, pull in), shadows/highlights, brightness/contrast, healing tool, cloning, hue/saturation, dust & scratches etc. For advanced features, such as layers and curves, you should check out extensive video tutorials. Let’s take a look at the most effective post-processing tips for underwater photography:
- Correcting for Color: Water absorbs different wavelengths of light. This means that even at shallow depths red, yellow and orange are absorbed. No matter what you do, or how good the ambient light is, you will lose some color. This can easily be fixed in the post-processing stage. If you are shooting RAW you can adjust the white balance in post-processing (using the temperature slider in Lightroom – example: you can bring white balance down from 5500K to 4500K). Next you have to edit the key colors in the image with HSL/Color/B%W and Lightroom panel.


- Correcting for Contrast: Another thing that water does is to take out the contrast out of photos. Contrast correction is an essential step of post-processing. From the original RAW file you will see that the image is quite flat. Go to the histogram to see the light and dark tones that need to be increased.

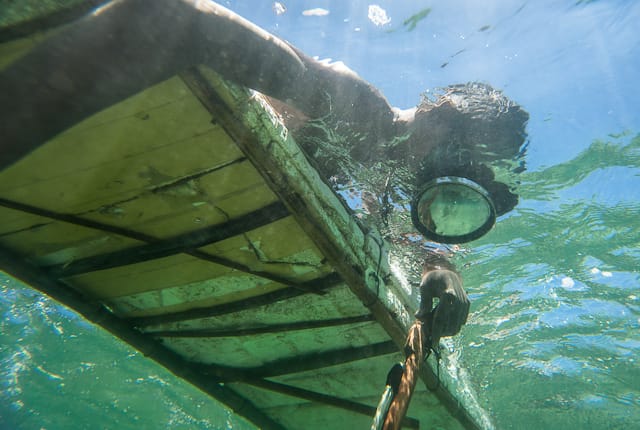
Image Source: LightStalking
- Increasing Saturation: if you shoot images at greater depths, colors will lose their power. Therefore, a slight saturation increase will be necessary. This can be done in Photoshop by using the vibrance slider (for RAW files).
- Reducing Hotspots: If hot-spots appear you can reduce them from the yellow channel in Photoshop, by lowering its luminance. It might help your image look significantly better.
- Backscatter Removal: Another problem that might appear in the underwater photo is backscatter. If it consists of dust, or fine spots, you can simply lasso the area and remove it with the dust & scratches tool. If it is larger, you should magnify the area and remove with the healing tool or clone tool. You can also use the clone tool for removing algae, bubbles and other unwanted elements.


