Understanding what ISO is in photography and using your digital camera accordingly is essential for capturing great grain free images. What does ISO mean and what are the ideal ISO settings for different types of photography are the questions we decided to answer to in a more in depth manner.
What Does ISO Mean?
ISO is one of the three pillars of photography along with Aperture and Shutter Speed. We have already touched both on the ISO meaning and its importance when we discussed how to make the most from your camera exposure. However, there’s always more useful information to provide on the subject, especially for beginners.
To put it simple, ISO refers to how sensitive your digital camera or film is to light. So anytime we talk about ISO photography, we refer to the ideal amount of light we need for well-exposed images. Both in film and digital photography, ISO indicates the sensitivity to light and is measured in numbers – 100, 200, 400, 800 etc. These numbers are established by the International Organisation for Standardization. Here are the ISO standards used in photography:

Back in the film photography days, an ISO of 100 was best for shooting in natural light, while 400 ISO was commonly used for indoor photography.
In our digital age, though, ISO settings allow you to better control the quality of your photo. As compared to film, on digital cameras you can set a different ISO for each shot. So, in case you come across situations when you cannot use flash, you can rapidly switch your ISO up to 3200 and make the image sensor more sensitive to light. With film, the higher the ISO, the more grainy and noisy the pictures were.
How does ISO work? The lower the ISO is, the less sensitive your camera will be to light. A higher ISO number is thus necessary in low light conditions. This, unfortunately, increases the noise of your shots, which means that finest images are always achieved in natural light.

Experimenting with ISO Settings
Base ISO
All digital cameras have a so-called base ISO which is the lowest ISO you can use to capture high quality images. While most of Nikon cameras have a base ISO of 200, the typical base ISO for Canon is 100. ISO 100 is the lowest recommended ISO for digital cameras, but the number can drop to 80, 64 and even 50 depending on light conditions and shooting purposes.
The ISO number can be increased from 100 or 200 to 400, 800, 1600, 3200, 6400 end even higher. The highest the ISO is, the less time is needed to capture an image. For instance, ISO 100 has a capture speed of 1 second, while ISO 1600 speed is sixteen times lower.
Auto ISO
Many digital cameras have a special setting called Auto ISO. How does Auto ISO work? Auto ISO is great for low-light shooting. All you need to do is set a maximum ISO number to limit the grain in your image, such as ISO 800, and the camera will automatically change it based on the amount of light available.

Auto ISO for Canon Digital Cameras
ISO, Aperture and Shutter Speed
Before experimenting with different ISO settings, it is important to learn more about Aperture and Shutter Speed which with ISO are part of the Exposure Triangle.
Light and noise are affected not only by the ISO number, but also by how fast the shutter speed and how large the aperture are set. A slower shutter speed means a longer time for the light to hit the image sensor. Also, the larger the aperture is, the more light will get through the lenses.
A low ISO goes hand in hand with a larger aperture. The less sensitive is the image sensor, the more light will need to get through the lenses. Also, when using a lower ISO, it is advisable to set slower shutter speed so that the light is delivered into the sensor over a longer period of time.
Consequently, if we set the ISO high, we need less light over a shorter period of time.
ISO Settings by Types of Photography
Next, we are going to answer to how to use ISO on your digital camera according to different types of photography.
- LOW ISO USAGE
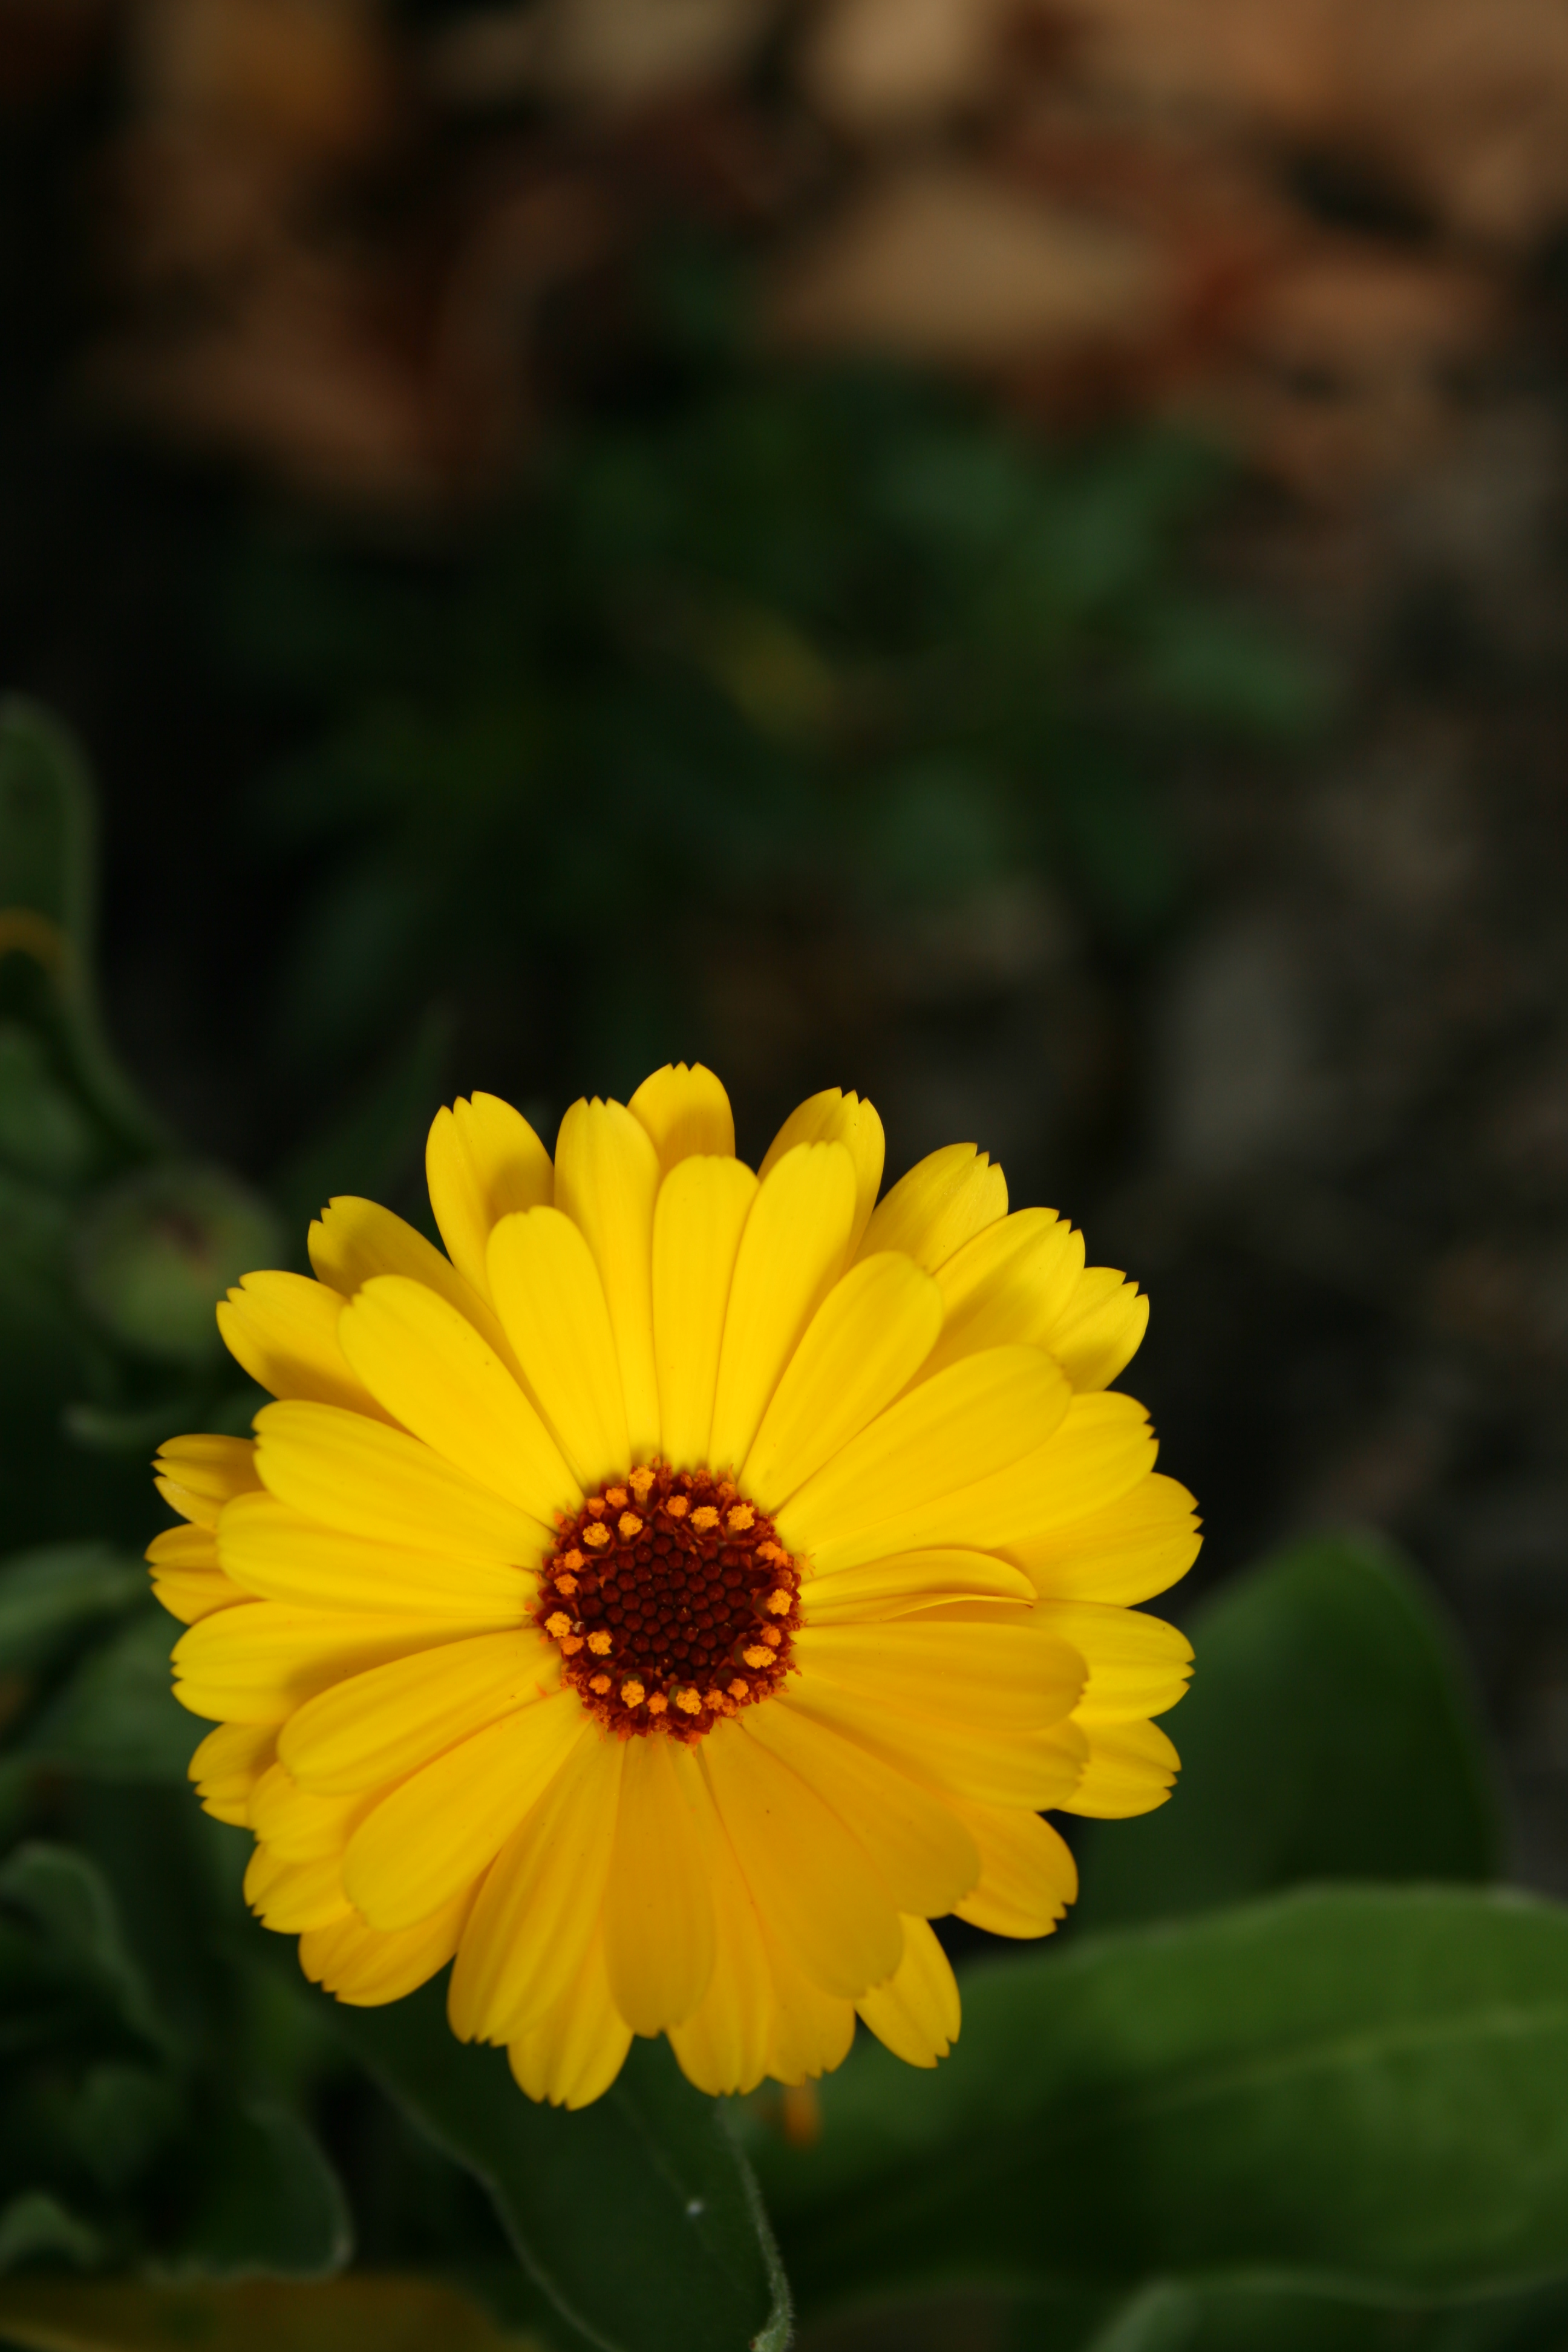
Low ISO numbers, such as 100 or 200, are perfect for shooting in bright light. Natural light allows you to stick to a low ISO which will result in a higher quality and less grainier or even grain free images. A low ISO is ideal for all types of outdoor photography, be in landscape, nature, flower or travel photography as long as the sunlight is your friend.

Flower Captured at ISO 100
Low ISO can be used in dark settings as well, if you wish to add a dramatic effect to your photographs. However, if you want to lower the ISO number and there is little light to work with, you should also use a tripod or hold your camera steady by placing it on a flat, solid surface.
- HIGH ISO USAGE
High ISO is mandatory in low light conditions. In order for your shot to be well-exposed, don’t forget to set a faster shutter speed as well after increasing the ISO number.
Usually, higher ISO settings are needed for indoor photography when shooting:
- Indoor Sport Events
- Art Gallery Shows
- Parties and Weddings
- Interior Design Photography

Low Light Examples of ISO Settings for Indoor Photography
In certain circumstances, you can use a flash instead of increasing the ISO, but the images will probably get noisier and grainier.
We hope we provided you with useful answers to ‘what does ISO mean?’ and ‘how does ISO work for stunning results?’. If you have any other questions or comments, just drop us a line.


