5 Ways to Deal with Bad Wedding Photos

It’s another one of those photographers’ nightmares that everyone has to deal with, sooner or later in their career. It usually tends to happen to beginner wedding photographers: you shoot the wedding, spend tons of time editing the pictures, then, one day, you get the dreaded call. The client hates your work. They are disappointed with it. They may even ask for their money back. What do you do? How do you deal with bad wedding photos? Here are 5 tips from actual wedding photographers, with enough experience in their portfolios to be speaking with the best of intentions.

deal-with-bad-wedding-photos

1. Don’t dwell

This is the most important step in learning how to deal with bad wedding photos, unless you want to end up too scared to ever pick up a camera again. The past is in the past and you can’t reshoot a wedding. You can analyze what went wrong, enlist the aid of a very skilled photo editor and try to do as much damage control as possible. However, at the end of the day, all you can do is learn from your mistakes (as everyone does) and move forward.

2. Analyze & acknowledge

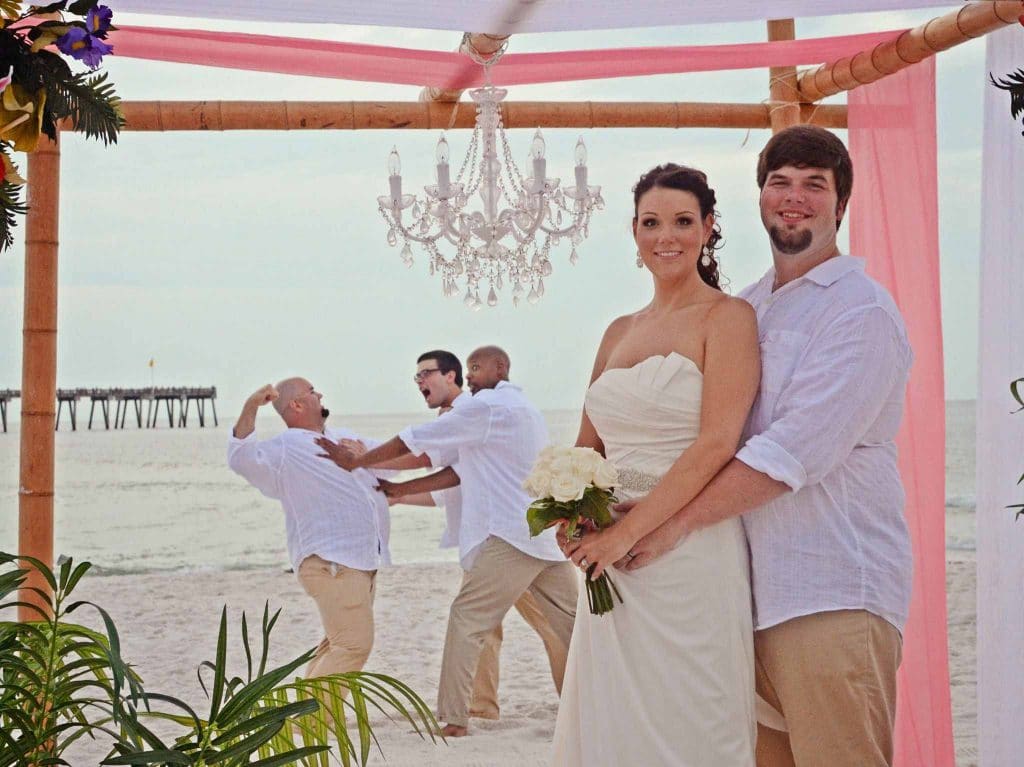
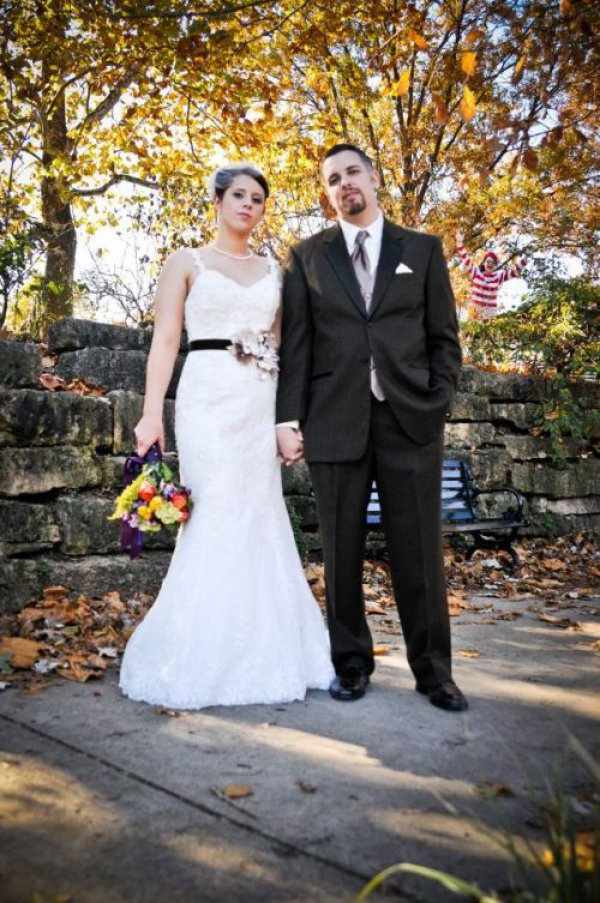
Perhaps the conditions in which you shot the wedding were harsh. Perhaps you lack the experience to handle the weather, the light, the temper tantrums thrown by the wedding party, or anything else. Maybe your compositions are bad. Try to pinpoint the causes, in order to deal with bad wedding photos. Understand what went wrong, but make sure to be as objective and detached as possible. It’s actually a good idea to sit down with said ruined set and a trusted fellow photographer and ask for their opinion. A second call could be what you need, in order to prevent you from doubting your professional abilities altogether.

3. Pay up… or not

Sometimes, when you are forced to deal with bad wedding photos, you must simply understand that some clients are out to get their money back. Nothing you say or do will feel like compensation enough for them, before you pay up. You can comply to any other request they make, edit and re-edit the photos until you turn blue in the face – they want their money back and that’s final. At this point, your options are those listed in the contract you signed with them. If the client has just cause to ask for their money back, both legally and ethically, there is little you can do but pay up. Whatever you do, don’t let yourself be bullied away from your money.

deal-with-bad-wedding-photos02

4. Get a second shooter, be a second shooter

The best way to learn wedding photography is by being a second shooter. Wedding photography pros recommend second shooting weddings for at least a year, before you attempt to go it on your own, as the main wedding photographer. Similarly, if you’re starting out as a main wedding photographer, it’s almost mandatory to enlist the aid of a second shooter you can trust. At the end of the day, they can make a world of difference, in terms of client satisfaction.

5. Trust your instinct

Lastly, the main takeaway, when you have to deal with bad wedding photos, is that you should always trust your gut when it comes to taking on a gig. If you feel you lack the experience and/or are worried the responsibility is too much for you to handle, find a gracious way to say no. You should never let a client pressure you into a booking, because chances are at the end of the day no one’s going to walk away happy – not you, nor the client.

The Brief Guide to Golden Light Wedding Photos

They don’t call the golden hour ‘the magic hour’ for no reason. There’s a certain soft, joyous quality to images taken in that kind of light that makes it ideal for the most wonderful portraits, be they for glam shoots or wedding shoots – or just about any other type of photography that involves human subjects. Of course, there’s something to be said about shooting in window light, shade, backlight, and even in direct sunlight. But there’s nothing quite like shooting portraits at magic hour, which is why today we bring you our very own version of a quick guide to golden light wedding photos. There is simply no match for it, neither in terms of artificial lighting or post-production. You can’t replicate it no matter how hard you try and how many filters and actions you try. So let’s delve right into it, then:

The unmatched qualities of golden light wedding photos

Christina McNeillSoftness

The thing about golden light wedding photos is that they can actually be taken with the subjects staring straight into the sun without so much of a squint. Light at that time of day is softer because it takes a longer time to reach the surface of the Earth, as it has more distance to travel across the universe.

Warmth

Another quality that’s unique to golden light wedding photos is the temperature of the light. In somewhat more technical terms, at magic hour the blue wavelengths of light particles are more scattered, which is why there are more reds and yellows in its makeup. This will make your wedding portrait subjects look almost golden – sort of naturally tanned-like.

Depth

Magic hour is essentially that time of day right before sunset, which means the sun has descended lower in the sky. This low angle will effortlessly add depth to your photos. Since your subjects will have longer, softer shades at that time of the day, the pictures will look more dynamic and more profound, in terms of depth-of-field. Golden light wedding photos simply look like more accurate 2D representations of this three-dimensional world.

When to take perfect golden light wedding photos

golden-light-wedding-photos02The ‘magic hour’ is actually about two hours each day: one right after sunrise and one immediately before sunset. The span of time you have at your disposal also varies according to where on Earth you live or the place to which you’ve traveled for the photo shoot. The rule of thumb is that the closer you are to the Equator, the shorter the golden hour is going to be. Seasons also extend or shorten the magic hour (with less natural sunlight in the colder season, it goes without saying that there’s going to be less golden light then). And, of course, the weather also plays a major role in how much time you get for taking golden light wedding photos. Clouds in the sky are not a good sign, if you’re going for that warm, soft vibe of magic hour portraits – though they can work wonders for achieving sharper shadows and a more dramatic quality to your pictures. In the case of weddings, the golden hour will usually catch you right after dinner or during the meal, so try to inform your clients of this in advance, so you can sneak out into the great outdoors with them for a few beautiful portraits.

How to shoot golden light wedding photosgolden-light-wedding-photos03

There are lots of great options in this sense, since golden light is so permissive. You can have your subject directly facing the light, or you can get a warm glow with backlit portraits. In this second scenario, you can also try to obtain a rim of light outlining the silhouettes of your subject, which will make it stand out from the background and appear aglow. You can also try to obtain a flare, which will differ greatly from one specific aperture to the next, from one lens to the other – try to find the best kind of effect for your subjects. And, of course, golden light allows for a ton of experimentation, so just go out and have fun with it!

Tips for Mommie Photogs: Shooting Weddings While Pregnant

shooting-weddings-while-pregnantSome women can’t wait to go on maternity leave once they find out there’s a little one on the way. Along the same lines, shooting wedding photography with a pregnant bride can be one of the most endearing, delicate, and special experiences you’ll have as an artist. However, today’s post is about neither one of those scenarios, but about what you can do if you’re shooting weddings while pregnant. Since wedding photographers are largely freelance, many female professionals choose not to abandon their business, or put in on hold, while pregnant. If you’re about to face this situation, you might wonder how you’re going to be able to manage it all – the baby that’s on the way, the business, and the actual, physical challenges of working when you’re a few months away from giving birth. We’ve scoured the web left and right and checked out some true stories from photographers who have gone through this. We’ve come up with a list of resources and tips you might find useful.

The checklist for shooting weddings while pregnant

  • Flip flops

If you’re the kind of photographer who cares a great deal about looking professional at all times when working, this might be a bit of a challenge for you, but it’s probably unavoidable. Chances are your feet are going to start swelling as your pregnancy progresses and if you want to keep working, you’re going to have to find yourself one (or several) nice pairs of flip flops to change into, in order to keep your feet from killing you. Shooting weddings while pregnant does involve a lot of standing, you know?

  • Back support

The same pretty much goes for back aches. They’re very difficult to handle for some women, even if they’re not up on their feet and running about, taking pictures all day. Those women who want to keep shooting weddings while pregnant might want to invest in Maternity Support or a similar form of support for their back.

  • A breast pump

There’s no way around it: if you want to keep working during and immediately after the pregnancy, you’re going to need a carry-on with a special portable breast pump.  Alternatively, you can opt to breastfeed at weddings, if you’re comfortable with this. Most wedding guests are tolerant about it, according to several real life mommy wedding photographers. However, if you can’t afford the downtime, or just want to pump for whatever reason, then an “on the go” breast pump is your best bet.

  • Water & protein

Much like you are going to have to feed the baby on the go, you’re going to need to nourish yourself, too. If you’re a newbie wedding photographer, don’t think there’s going to be any time for you to snack at the wedding party – there usually isn’t. And keeping hydrated and well-nourished while pregnant is essential, both for your health and stamina, as well as for the baby’s well-being. As such, make it a point to never leave home without plenty of water and protein bars, to keep you up on your feet all day long.

  • An assistant

Yes, it’s an added cost, but one which might just save your wedding photography business while you’re carrying. The assistant will help carry your gear and other bags – and they also come in mighty handy when it comes to remembering that you actually have to eat those protein bars if you want them to have any effect.

  • A backup

We’re talking an alternate wedding photographer that you can call on, if need be. Someone you trust is able to step in at the last minute, in case anything goes wrong with you and you need to step down from an engagement. Always have the phone number of such a trusty friend on hand, you never know when you might need to use it.

5 Essential Tips on Transitioning from Amateur to Professional Wedding Photographer

As you may have already read here, at Virtual Photography Studio, there’s something of a paradox to being a professional wedding photographer. On the one hand, most people who go into the business start out from sheer passion (or even by accident, in some cases). But then, as they progress, the question arises: can you make it big in this field, or should you stick to your day job? And if you do become a professional wedding photographer, will the transition be subtle and gradual, or should you expect to move up in leaps and bounds? In an attempt to shed some light on these pressing questions for most newbie pros, we’ve gathered up some nuggets of wisdom from the pros. Here are the most important tips on how to switch from the status of amateur to professional wedding photographer.

1. Don’t lay all your eggs in one basket

Accept the notion that you may not become a superstar wedding photog overnight. Deal with it – and do so in the most tangible and palpable ways. What does this mean? A great many things. For one thing, don’t abandon your personal projects, in hopes that you’ll be freeing up time for wedding shoots. In the beginning, these gigs will rather trickle in, instead of gushing in torrents. Along the same lines, yes, do stick to your day job at first, but do so with a plan. Set a deadline for yourself: you need to be making a certain amount of money from photography alone, by a given date. And that’s the date when you’re going to quit and officially switch from amateur to professional wedding photographer.

2. Advertise yourself

Word of mouth and recommendations for friends are a great way for landing wedding shoots in the beginning, but we assume you only have so many friends. In time, that source of clients will run dry and you, too, will be left high and dry. To preempt that from happening, work on building up your reputation. This doesn’t mean you need to start running full page ads in the local papers (unless you’re sure you’re that good already). But it does mean you should have an online portfolio, with a small, yet impressive selection of your work. Why not also set up a Facebook fan page, while you’re at it? Have a smartphone? Then you definitely need to be on Instagram, too – you may find it beneath your artistic prowess, but your friends are probably on the platform already.

3. Invest wisely to turn from amateur to professional wedding photographer

In the beginning, it’s likely that money will be tight, so refrain from splurging, no matter how cool that new Canon lens kit looks. Borrow lenses, beauty lights, tripods, and whatever other gear you can from fellow photographer friends – but don’t keep it for months on end and, whatever you do, don’t break it. Rent gear, if it’s available as an option. Rent studio time and consider working with some TFCD models to get your creative juices flowing and to enrich that portfolio.

4. Keep learning

All the great masters of photography did, from Bresson to Leibowitz, so you should do it, too. Your transition from amateur to professional wedding photographer is not over when you think you’ve got it all figured out. In fact, that’s likely when your career is over. Look at how fast technology is evolving, how regularly Photoshop is updated, and how many new lenses are released each month. Check out new seminars and workshops, know about the trainers’ experience and background. In photography, the learning process is never really over – and that’s one of the best things about this job!

5. Stay positive

We’ve written about the importance of staying strong in the face of negativity and criticism before. It’s incredibly important, so don’t you ever forget it. While constructive criticism can be a great way to enrich your skills, outright bashing is always detrimental. Don’t let the trolls get you down and you will do just fine!

Get Inspired – Photograph The Rain

Spring is in the air. Okay here in Denver, we’re supposed to get snow this weekend. But rain is definitely in the forecast in the future, and can give you an incredible backdrop for photography.

Rain is an amazing resource.  Rain can alter the mood of a landscape. And it can inspire you to look a little deeper for romantic images. People will hide under umbrellas or dance under a falling shower. The view out a window can be reshaped by droplets creating intricate patterns.

After a rain shower, venture out and check out the vegetation and flowers. Capture the drops as they lay and how they create reflection and magnification.

Raindrops on a flower - Get Inspired Photography

Raindrops on a flower

Image source

Cloverleaf with raindrops - Get Inspired Photography

Cloverleaf with raindrops

Image source

Venture out and see how rain affects people. Watch as they stand with their umbrellas or how they run for cover.

Street scene in the rain

Street scene in the rain

Image source

Running in the rain

Running in the rain

Image source

Running in the rain

Running in the rain

Image source

Walking in the rain

Walking in the rain

Image source

Rain can also add interesting patterns on a window.

Raindrops on glass

Raindrops on glass

Image source

Photographing shapes – Circles

Photography can become tedious and daunting if you shoot the same thing again and again. Next time you want to get out and adventure in a new direction, set your self up and do a challenge project.

I always like to challenge myself with a photography project. What would your mind do if all you had to think about is one thing. A shape. A shape that is everywhere you look. A circle!

Here are some ideas for creating a project into a finished work of art –

by Mark Berry

[Read more…]

Photography with a Theme – The Color Red

By adding an assignment to your work, you can open your eyes and really see a creative side. What if you had a project to do and the goal was to photograph just one thing. What would you do? Let’s take a look at one project…the color red. Color is everywhere and when you see some of the samples below, you will see on connection to each image and a large array of unique designs.

Buy Red!

image by frazer4eos

Red meets water

image by NYC nikonian007

[Read more…]

Photographing the Perfect Storm – How to Get Inspired #16

The next major storm that visits your location, grab your digital photography gear and head out to capture the effects of mother nature. A major storm – blizzard, hurricane, tornado, flood, wind or ice storm can alter the landscape around you. An ice storm can show its damaging effects on trees and other objects but can also be a wonderful modifier for common objects. I have seen amazing images of tables, benches and cars that reside next to a lake that were covered in 4-6 inches of ice. A transformation that is truly beautiful. – Get Inspired!

Photography Stock Images – How to Get Inspired – 15

Photography in Stock Images – Love photographing stock but need some new ideas? Visit one of the dozens of stock photography websites. These sites have millions of images. Just type in the search tool and your off. They’ll show you what’s hot – what’s not – and it’s sure to create a spark to your fire. Take one hour, check out the popular images and write down four ideas that you can incorporate into your next shoot. Tunnel vision is hard to break, but there is a quick solution. Get Inspired!

Photograph Emotion – How To Get Inspired With Photography – #14

Photography emotion – When was the last time you concentrated on how someone looks. Are they happy, sad, laughing or feeling defeated? All of these emotions can be captured into a relation to your photography session. Have you ever seen a photography display or art showing that focused on one emotion? To make your first session easy, grab your digital camera and concentrate on happy people. Shoot as many images that show happiness and see what develops. By adding a goal to your day of photography, amazing results will be achieved. – Get Inspired!